Metheglins are herbed meads, and are considered one of the oldest ways of preserving herbal remedies for later consumption. It makes sense if you think about it, readily available clean drinking water is still in short supply in many parts of the world, and while modern water filtration systems have proliferated in some places, we may also see increased precarity in accessing drinking water and while alcohol is no substitute for regular drinking water we may want to consider older methods of preserving medicines when possible.
One major key to metheglins is that you must select herbs that have water-soluble constituents rather than those that are fat-soluble. One of the first herbed meads I made years ago was a ginger and turmeric mead, and while delicious, was largely ineffective in bequeathing any of the healing properties I was looking for due to the herb/plant material needing fat in order to be used by the body.
Some examples of herbs that are good to use in metheglins: Chamomile, motherwort, red clover, red raspberry, elderberry, yarrow, lemon balm, rose, hops, hibiscus, skullcap, and oatstraw. Experiment and see what you like!
I taught a 1 hour class on this recipe for Wild Ginger’s Bloom series, you can access a recording of that if you sign up here.
Basic Equipment Needed for Wine/Mead Making:
- Primary Fermenter
- Yeast
- Secondary Fermenter (carboy)
- Hydrometer
- Airlock
- Beaker
- Food safe sanitizer
- Racking kit
- Wine bottles
- Corks
Basic Metheglin Recipe:
- 5Lbs honey
- 2.5 gallons water
- 1 1/2C dried rose petals
- 1/2C dried lemon balm
- 1/2C dried hibiscus
- 1Tbs 2tsp acid blend
- 1Tbs yeast nutrient
- 1 crushed camden tablet (optional)
- 1 packet D47 yeast
In a large stock pot bring the water to a boil. While water is heating up use your sanitizing spray to sanitize your primary fermenter.
Using either a mesh fermentation bag or large tea bags portion out the dried herbs and place them into the primary fermenter.
Once the water is boiling, allow to cool for 5 minutes, and then pour over the dried herbs into the primary fermenter.
You will now add the 5 pounds of honey, and using a sanitized spoon, mix well until combined.
Add the acid blend and yeast nutrient.
Wait until the liquid is room temperature and then add the camden tablet if using. Camden tablets provide a little extra in terms of sanitizing.
24 hours after you add the camden tablet (if using), sanitize the beaker and your turkey baster. Fill the beaker within 2 inches of the top and take your readings with the hydrometer. You must do this before adding the yeast! Make sure to record the measurement in a notebook or document that you’ll be able to come back to throughout the fermentation process.
Add the yeast and stir with a sanitized spoon. If you are scaling this recipe, one important thing to note is that one packet of yeast will ferment up to 6 gallons of mead or wine. Do not use more than one packet of yeast unless your liquid content is higher than that.
Fit the airlock into the lid of the primary fermenter.
Stir once a day for 7 days, making sure to sanitize the stirring utensil each time.
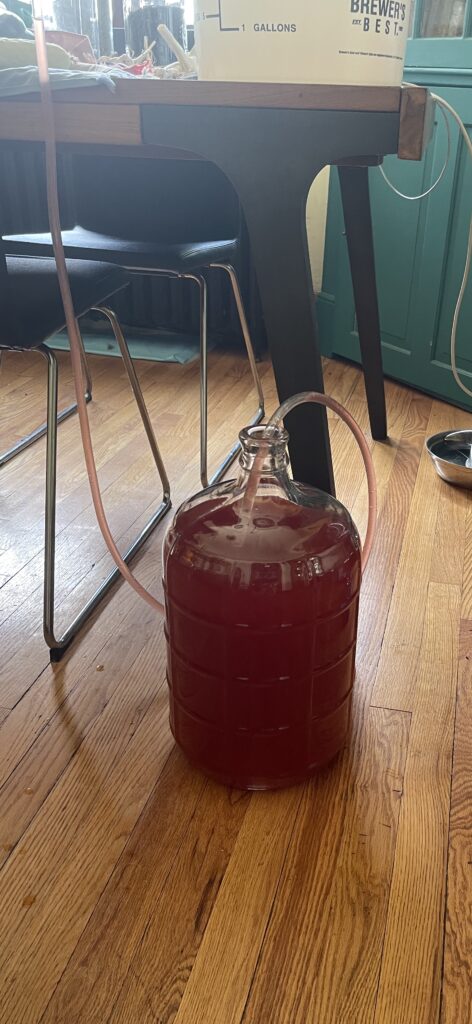
After 7 days it’s time to rack (move the mead from one container to another) from the primary fermenter into the secondary fermenter (carboy). For this recipe and scale a 3 gallon glass carboy is best, you want there to be minimal head space so that there isn’t too much oxygen exposure.
Sanitize the carboy and then racking wand and tubing. I like to put the primary fermenter on a counter a day or two before I rack so that more of the sediment is settled. The key with racking is making sure that you’re not stirring the sediment as much as possible, when making wine or mead at this scale racking is the primary method of removing sediments. Sediments cloud the look of the wine or mead but they can also contribute to it tasting “off.”
Racking takes some practice, but my method is to use fill the tube and wand with tab water, plug both ends with my fingers, place the racking wand in the primary fermenter and then release the tube end into a glass quart jar. Let the water and just a bit of the mead go into the jar and then press your finger over the tube end and move to the secondary fermenter. This should have started the suction function, but if not fill with water and try again.
Fill the beaker within 1 inch of the top with the mead and set aside.
Let the primary fermenter empty into the second fermenter, be careful not to disturb the wand, since this will stir up more sediment.
Fit the secondary fermenter with a bung and airlock. Place the secondary fermenter somewhere dark that stays at roughly the same temperature. The floor of a closet is generally ideal but if you have a less trafficked part of a finished basement that will be fine too.
After a month you’ll want to rack again and also take a reading with the hydrometer. You can give it a taste each time as well to see if the sweetness is to your liking, the flavor will develop other time but the sweetness or dryness after bottling will stay fairly consistent.
I like to make sure that the hydrometer reading is staying at zero across a few rackings before bottling. The concern here is that if it’s not actually done fermenting then it could continue to ferment in the bottle and worse case scenario shoot the corks out of a the bottle.
Bottle and let age 6-12 months!